Table of Contents
First, install Xcode using your OSX disc or download it from Apple's Development site.[1] Watch out, it's about a 700MB ISO download. You might want to burn it to disk and save it when you're done.
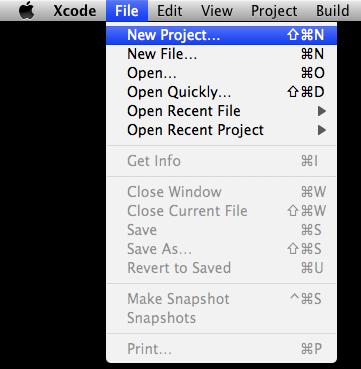
Fire up Xcode, → → →
Create a new project
Under Command Line Utility, choose C++ Tool and select the directory in which you'll want to store your project.

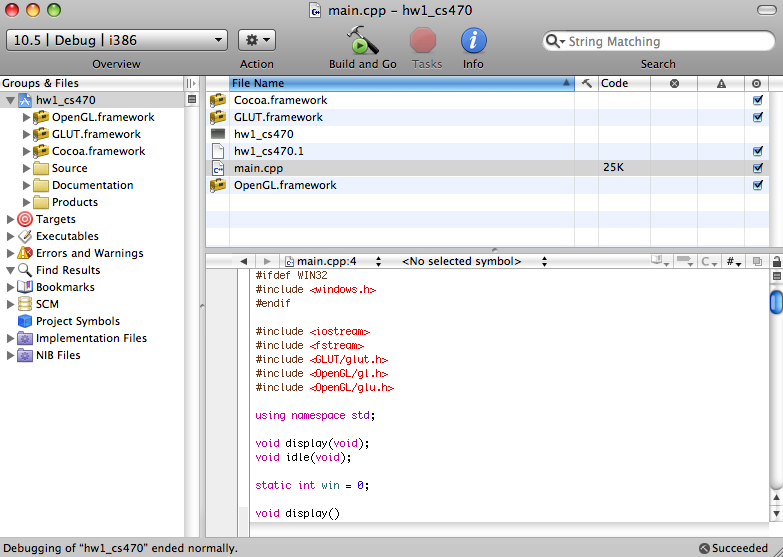
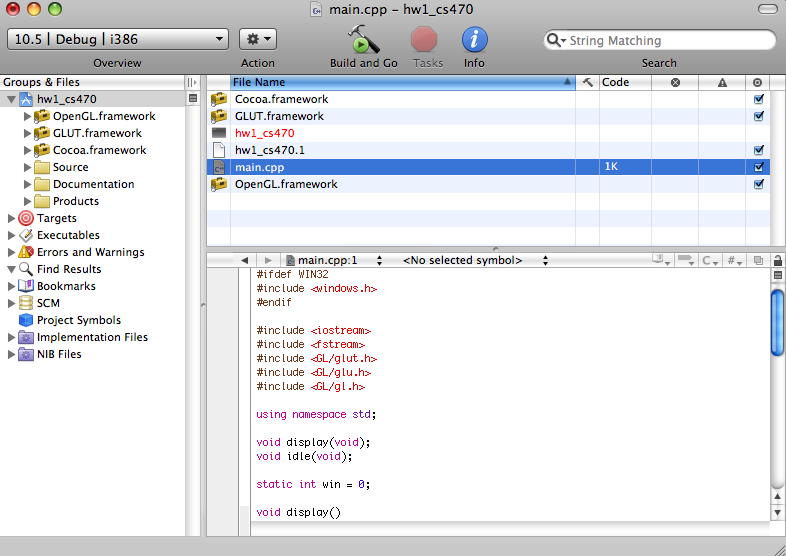
This will give you a project set up as a blank slate for you to work with:

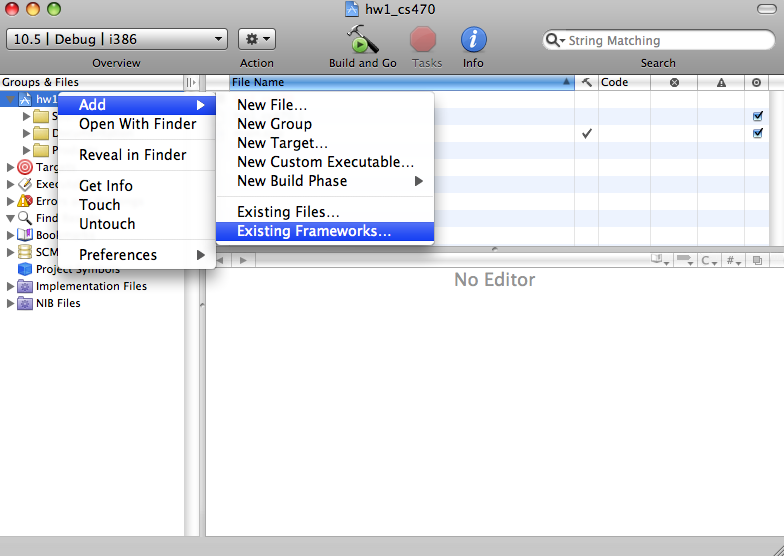
Now that we have a blank project, we need to add targets for the GLUT, OpenGL, and Cocoa frameworks. This includes all of the libraries necessary for building our project.
CTRL+CLICK (Or right click) the project name in the directory shown on the right, and click →
In the list shown, select Cocoa Framework and then click add and then add once more.
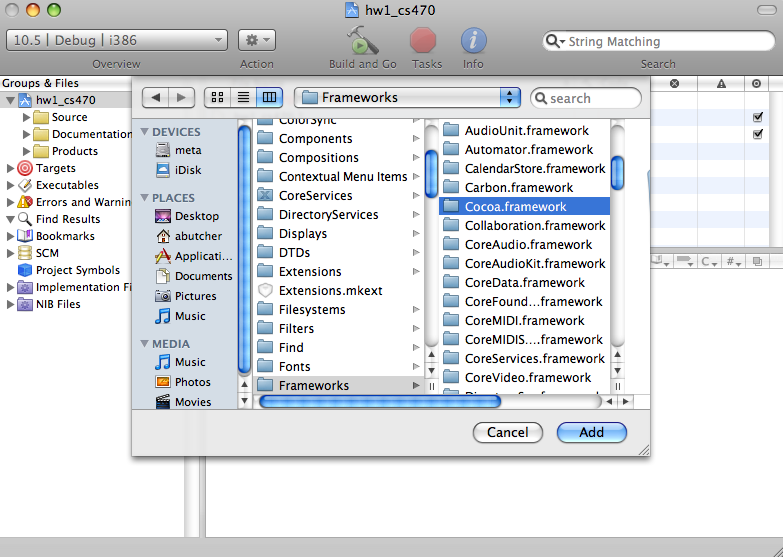
Repeat this process for the GLUT and OpenGL frameworks.
Once you have added all of the relevant frameworks, you're ready
to inflate your main.cpp located in the
project. Simply copy and paste the code from McGraw's original
.cpp file (http://csee.wvu.edu/~tmcgraw/cs470fall2009/hw1-2009.cpp)
into main.cpp.
Note
We're NOT ready to build just yet. The
library locations for GLUT and OpenGL are structured slightly
different on Mac which means we'll have to rename the header
#include's within main.cpp to the
following.
#include <GLUT/glut.h>
#include <OpenGL/gl.h>
#include <OpenGL/glu.h>
 Now, we're ready to build the project. Simply click "Build and
Go," making sure to save and you're done!
Now, we're ready to build the project. Simply click "Build and
Go," making sure to save and you're done!